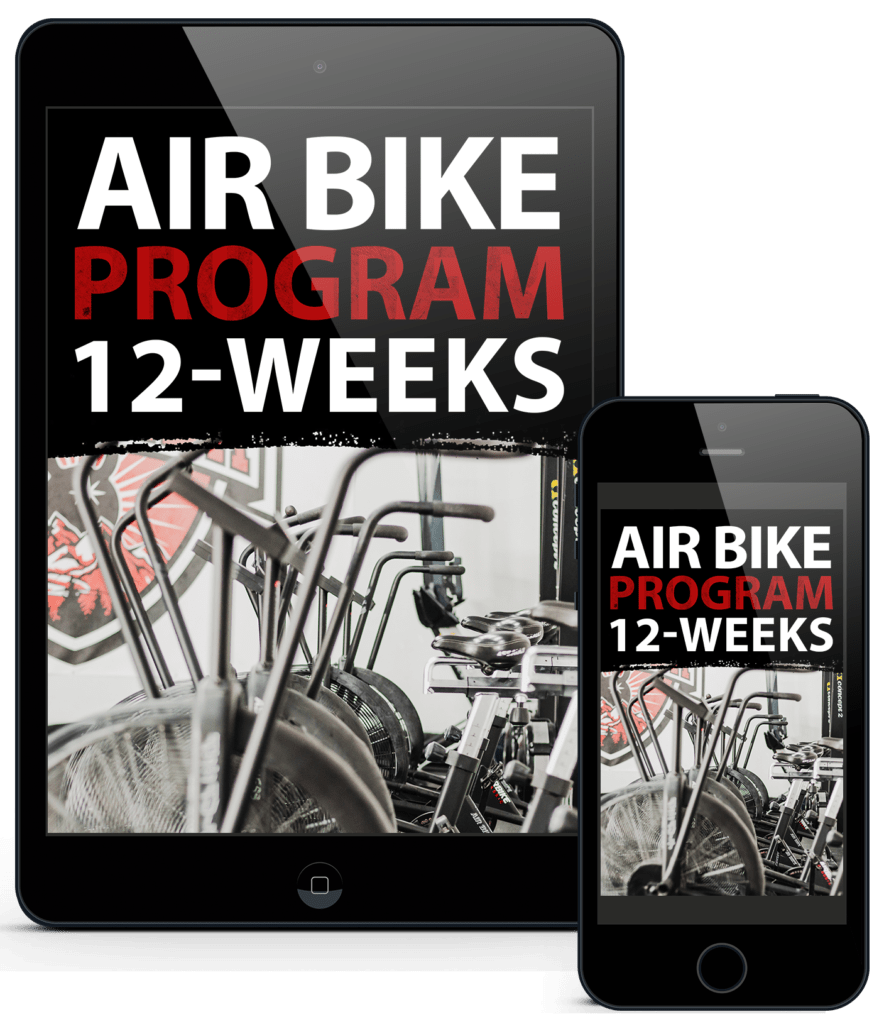
Ah—the air bike. Most of us have a love-hate relationship with this pain-inducing machine. Let’s do a deep-dive into all things air bike, and learn about everything the air bike has to offer.
What is an air bike?
An air bike, also known as a fan bike, is a heavy-duty exercise bike. Unlike other fitness bikes, an air bike uses air resistance: the harder you pedal, the greater the resistance.
The air bike has a monitor that measures outcomes such as speed, RPM, time, calories burned, watts, and heart rate. These indicators show you, in real time, how hard (or soft 😉 ) you’re working.
What are the benefits of training on an air bike?
Cardiovascular endurance is the foundation on which all fitness sits. Without a solid cardio base, all of your other fitness components (gymnastics, weightlifting, sport-specific training) will certainly suffer. The air bike ferociously tackles your cardio weaknesses, making it one of the best tools for endurance training.
When you train on an air bike, your whole body gets worked. Your upper body pushes and pulls, your lower body pedals, and your core stabilizes. It’s for this reason that the air bike hurts so good: every body part plays a role.
Who is the air bike really for?
Perhaps the coolest thing about the air bike is its versatility: the air bike is for the injured athlete as much as it’s for the seasoned competitor.
Because of the low-impact nature of stationary biking, the air bike is an ideal machine for folks who need to rehabilitate. Athletes who, due to injury, wouldn’t be able to run or row, can usually get a solid workout on the air bike.
And since you control the intensity and resistance, you can make it as tough or as easy as your skill set allows for.
Do I need a certain level of strength, skill or mobility to use an air bike?
One of the best things about the air bike is that it has a very low barrier to entry. There are almost no strength, skill, or mobility requirements for the air bike. All athletes, no matter their level, can get a safe and effective workout on the air bike.
The air bike is particularly useful for athletes with limited mobility. Almost every joint involved moves through a neutral range of motion. Athletes on the air bike don’t reach end-ranges at any joint, and can therefore express their full capacity and get a great workout.
What are the steps to ensure a proper set-up on the air bike?
Step 1: Adjust the seat height. If the seat is too high, your body will rock from side to side. If the seat is too low, your knee angle will be too tight. Find the sweet spot: Your leg should be fully extended when your heel is resting on the pedal when at the lowest position. This position allows for the most power output.
Step 2: Adjust the seat setback. If the setback is too far forward or backward, your angles will be off, which’ll lead to inefficiencies—and sometimes even pain. Adjust the setback so that your arm is just shy of full lock-out at its farthest point while leaning slightly forward.
Step 3: Pedal and test. After you’ve adjusted the seat height and seat setback, start to pedal. As you pedal, your legs—at the bottom position—should be just shy of full extension. And your arms—at the farthest point while leaning slightly forward—should also be just shy of full lock-out. Take note of your seat height and seat setback positions so you can save time the next time you get on the bike.
What are the most common movement errors to avoid?
- Too much head movement. The head should be mostly neutral and still.
- Rocking from side to side. This is mostly due to the seat height being set too high. Make sure the seat height is right for your body.
- Elbows flared out. Elbows should be tucked in towards your body. The angle should be about the same as the angle in your push-up position.
- Too much dorsiflexion or plantarflexion in the ankle. Your ankles should be neutral throughout the revolution. Don’t toe down, and don’t over-flex.
- Poor knee tracking. The knee should track over the ankle. Avoid the knees caving in. And avoid the knees flaring out.
- Slumped posture. The spine should be neutral. Sit tall and look ahead.
Sprint versus sustain
It’s clear that sprints require different muscle recruitment, energy pathways, and technique than long efforts. But athletes seem to approach the bike in the same manner whether there’s a 30-second sprint on the menu, or a 50-cal endurance effort. These two efforts should be treated differently. And here’s how you can approach them:
Sprints: During sprints, take advantage of the tri-directional power output. In other words, pedal with your feet, push with your arms, and pull with your arms. Recruit as much muscle mass as possible to produce the maximum amount of power. Efficiency doesn’t matter nearly as much in a sprint.
Sustain: During longer efforts on the air bike, efficiency is key. Your objective is to produce consistent power output without accumulating fatigue. And unlike in sprints, you’ll opt for bi-directional power output: pedal with your feet, and push with your arms. Eliminate the pull.
Fill the gaps
We all have holes in our training. For endurance athletes, sprinting can be the weakness. For power athletes, endurance workouts are often a feat. Luckily, the air bike can fill the gaps in your training. And here are some sample air bike workouts that’ll turn your weaknesses into strengths:
Air Bike Sprint Workouts
- Every 2 minutes x 10 sets (20 total minutes): 10/7 cal sprint
- 1 minute on, 2 minutes off x 7 sets (21 total minutes): max cal sprint
- Every 1:15 x 15 sets: 4-sec wind up + 6-sec all out sprint
- Tabata: 20 seconds of work, 10 seconds of rest x 4 minutes
- 9-minute pyramid:
Minute 1: 10 sec sprint, 50 seconds rest
Minute 2: 20 sec sprint, 40 seconds rest
Minute 3: 30 sec sprint, 30 seconds rest
Minutes 4: 40 sec sprint, 20 seconds rest
Minute 5: 50 sec sprint, 10 seconds rest
Minute 6: 40 sec sprint, 20 seconds rest
Minute 7: 30 sec sprint, 30 seconds rest
Minute 8: 20 sec sprint, 40 seconds rest
Minute 9: 10 sec sprint, 50 seconds rest
Air Bike Endurance Workouts
- 20 minutes: Max calories
- 4 Sets: Start at 100 watts. Climb by 50 watts every 30s until failure. Rest 1:1.
- Every minute on the minute:
Minute 1: 2 calories
Minute 2: 4 calories
Minute 3: 6 calories
Continue until you can’t reach your goal for calories in a minute. - For Time: 30-25-20-15-10-5 Calories. Rest 1:1.
- 30 minutes: Max distance
Air bikes versus other exercise bikes: What’s the difference?
No matter what kind of indoor exercise bike you’re on, you sit, you pedal, you sweat, and you don’t go anywhere. But air bikes really are a different breed:
- Air bikes = a total body workout. Unlike other indoor stationary bikes, air bikes work your lower body and upper body. In addition to pedaling, you’ve got to push and pull with your arms. Talk about some extra bang for your buck!
- Other bikes let you set the resistance. Air bikes have a single gear, while other exercise bikes let you set the resistance. So to increase the intensity on an air bike, you don’t turn up the resistance knob. Instead, you increase your RPMs.
- Air bikes are brutally tough. While all gym bikes can help you break a sweat, an air bike is designed to get you from 0-100 fast. That’s why you’ll often see a short-duration air bike component in your workout. If you’re looking for intensity, look no further.
Warm up, cool down, and work out
There are almost no eccentric contractions involved when riding the air bike. And eccentric contractions are the biggest culprit for DOMS (Delayed Onset Muscle Soreness). Because of the lack of eccentric contractions, it’s very difficult to get sore from the air bike.
And because of the lack of eccentric contractions, tissues really don’t need to be prepped in order to start moving on the bike. So the air bike makes a great tool for warm-ups, cool-downs and quick, intense sessions.
Final thoughts
It’s clear that the air bike is an exceptional piece of equipment that’s a great addition to any gym, big or small. It’s ideal for both beginner athletes and advanced athletes. And whether you’re looking for a way to rehab your knee, or add a high-intensity component to your workouts, the air bike is the way.
Here are the most important things to remember about the air bike:
- The air bike is for any athlete at any level. There is a very low barrier to entry.
- When you train on the air bike, your whole body is at work.
- Make sure you set the seat up properly to ensure your safety and efficacy.
- Endurance athletes should perform air bike sprints to fill gaps in their training. And power athletes should perform air bike endurance-type workouts to fill gaps in their training.
- Air bikes have a single gear. The harder you pedal, the tougher the workout.
- There are almost no eccentric contractions involved when riding the air bike, so you won’t experience much DOMS after an air bike workout.

